The Complete Tulip Care Checklist for Cut Flowers
A tulip is generous in the vase and stubborn in the details. Cut it well and it will hold its shape, keep its colour and carry on growing for days, leaning a little as it reaches for the light. Cut it badly, or leave it standing in yesterday's water, and it will flop over the rim of the vase by teatime. The difference is rarely luck. Almost everything that decides whether a tulip lasts is settled in the first hour after cutting, then reinforced by a short daily habit. What follows is a working checklist for market buckets, wedding work and the jug on the kitchen windowsill. Print it, pin it above the sink where you trim stems, and use it every time.
Start With Tulips Worth Conditioning
Good aftercare cannot rescue tired stock, so the checklist begins at the bucket. Look for buds that are still closed but showing clear colour, with firm, upright stems and leaves that are green the whole way down. Pass on anything with glassy patches, yellowing tips or a sour smell at the base.
Check the bottom of the bunch. If the stem ends are brown, slimy or hollow, the flowers have already been standing in dirty water and no amount of flower food will undo it. When you get them home, carry tulips by the stem rather than the head, and get them into water within the hour. Tulips left dry on a worktop for a whole afternoon will never quite recover their first crispness.
Conditioning: The First Hour Does the Work
Conditioning is the part most people rush, and it is the part that pays. Work through it in order.
- Snap or trim off the white bulb base. That little knuckle of bulb tissue stops the stem sitting flat in the vase and gives bacteria somewhere to gather.
- Strip the lower leaves. Any foliage that would sit below the waterline comes off. Tulip leaves are the main reason vase water turns cloudy and starts to smell within two days.
- Cut 2–3 centimetres from each stem at an angle, using a sharp knife or clean snips. A clean cut matters more than the angle; a crushed end cannot drink.
- Stand them in cool water and leave them somewhere dark and cold for at least two hours, or overnight. A cool garage, a cellar or the bottom of a fridge all work well.
- Keep them away from ethylene. Ripening fruit, a full bin and car exhaust fumes all shorten vase life. So do daffodils, whose sap affects other flowers — condition those separately for a few hours before mixing.
What Goes Into the Water
Start with a vase that has been scrubbed, not just rinsed. A film of old bacteria will undo a fresh bucket of water within a day.
Professional flower food is formulated for the job, and most tulips do well on it. Some florists find that sugar-heavy sachets turn the leaves yellow before the blooms give up; if that has been your experience, fresh cold water changed daily is a perfectly respectable alternative. A widely used trade trick is a single drop of household bleach per litre of water to keep it clear and slow bacterial growth. One drop is plenty. Measure it properly, because a heavy hand will scorch the stem ends.
Skip the folk remedies. Copper coins do nothing useful, and lemonade leaves a sticky film that feeds bacteria rather than flowers. When the arrangement is finished, tulips are happiest in shallow water — three to five centimetres is usually enough. They sip rather than gulp, and a shallow fill means less stem sitting underwater.
Arranging So They Stand to Attention
Tulips keep growing after they are cut. That is part of their charm and part of the problem, because a stem that lengthens in a tall vase will eventually lean. Keep arrangements low and wide where you can, use a vase with a narrow neck to hold the bunch together, and avoid over-handling the blooms once they are placed.
Wiring a stubborn stem
For a drooping stem, push a length of 20- or 22-gauge florist wire up through the hollow centre from the cut end, stopping just below the flower head. It takes a few seconds and holds the stem straight through a long event. For open blooms that still nod, thread a finer wire through the base of the bloom and down into the stem. There is an old trick of pricking the stem just below the flower head with a pin; results are inconsistent, so rely on cool water and wire instead.
Position matters as much as technique. Keep finished work out of direct sun, away from radiators and draughts, and well clear of the fruit bowl.
The Two-Minute Daily Check
This is the routine to run every morning on anything on display, and the one to hand to anyone minding the flowers while you are away.
- Lift the bunch and feel the stem ends. Slimy means an immediate water change.
- Change the water completely — every day for tulips, two at the very most.
- Re-trim a centimetre from each stem at the same time.
- Remove any fallen leaves or stray petals from the water.
- Pull out any bloom that has gone over, so it is not sitting against healthy flowers.
- Top up with cold water rather than warm.
- Check the position: still out of sun, still away from fruit, still off the radiator.
- At night, if you can, move the arrangement somewhere cooler. Tulips rest better in the cold.
When Something Goes Wrong
Floppy heads. Usually a sign the stem has sealed over or the water is stale. Re-cut, change the water and give them a few hours in a cool, dark place. Wiring will hold the shape if the stems have already set.
Yellowing leaves. Often too much sugar in the water, too much warmth, or foliage left standing below the waterline. Strip the leaves, freshen the water and move them somewhere cooler.
Cloudy water within a day. Bacteria, almost always from unscrubbed glass or submerged leaves. Wash the vase properly and start again.
Blooms opening too fast. Warmth is the culprit. Cooler air, shade and shallow cold water will slow them down. If you need flowers to hold for a specific date, buy them tighter and store them cold.
Pin It Up and Use It
The whole checklist comes down to four habits: a clean vase, a fresh cut, cold water, and a daily change. Everything else — the wire, the shallow fill, the dark conditioning corner — supports those four. Keep the routine small enough that you will actually do it on a busy Saturday morning, and your tulips will reward you with several extra days of colour and a stem that still stands up when the last guest leaves.
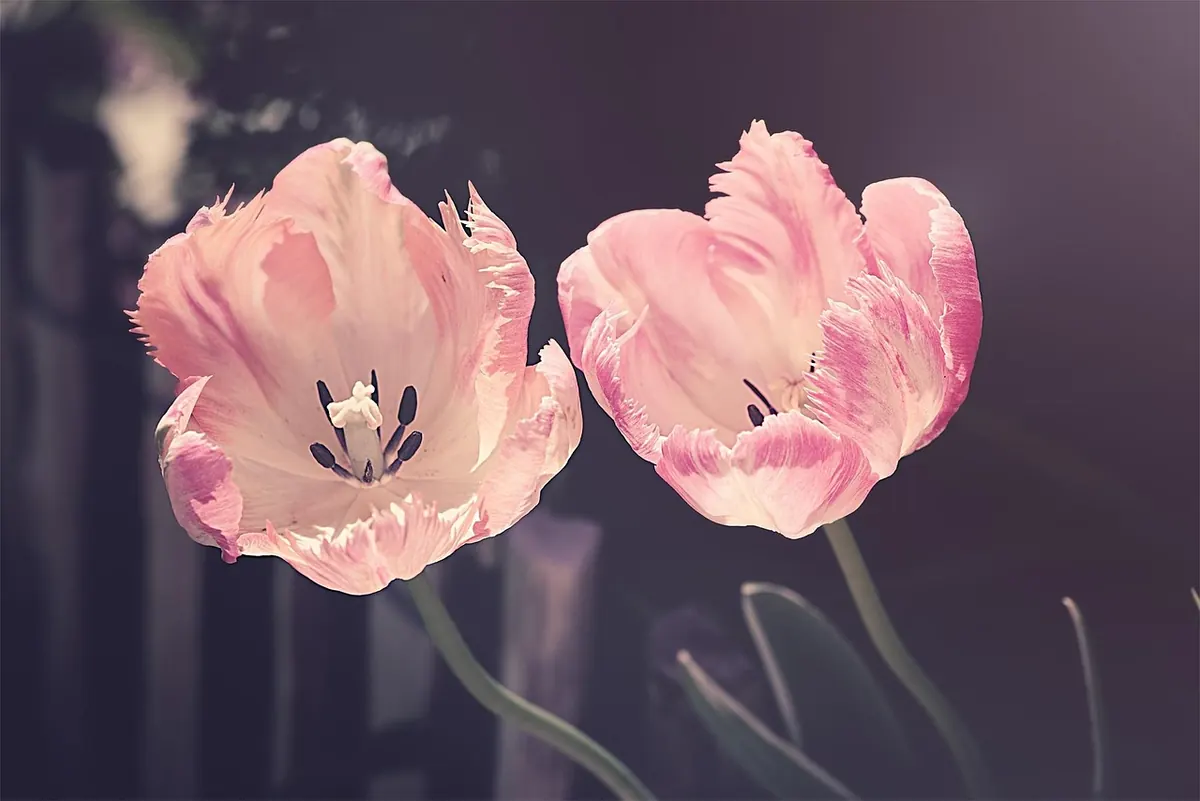
Photo: Mylene2401 / Pixabay