How to Arrange Tulips Like a Professional Florist

Tulips have a reputation for being difficult. They droop, they lean, they carry on growing after they have been cut, and by day three a carefully made arrangement can look as though it has been through a wind tunnel. None of that is the tulip's fault. It is a cut flower that behaves as though it were still attached to the bulb, and once you work with that rather than against it, tulips become one of the most generous flowers you can handle. Here is how to get them to stand up, hold their shape and look considered rather than accidental.
Conditioning: the twenty minutes that decide everything
Tulips are thirsty and soft-stemmed, so they bruise easily. Be gentle with them from the moment they come through the door, and do the boring jobs properly before you think about design.
- Unwrap and lay them flat. A tight bunch left in its sleeve traps warmth, and warm stems bend. Give them room.
- Strip the lower leaves cleanly. Snap or cut them away rather than tearing downwards; the strip of skin that comes with a torn leaf is an open door for rot. Leave two or three leaves per stem.
- Cut 2–3 cm off the base at an angle with a sharp knife or clean snips. A blunt cut crushes the vessels that carry water.
- Stand them in 5–8 cm of cool water, not a full bucket. Tulips drink hard, but stems sitting deep in water soften further up, exactly where you need them firm.
- Leave them somewhere cool and dark for at least four hours, ideally overnight. This is the step most people skip, and it is the one that buys you an extra few days.
Tulips are sensitive to ethylene, the gas given off by ripening fruit and car exhaust fumes. Keep the bucket out of the fruit bowl's orbit and away from a warm kitchen windowsill. A cool utility room or garage is far kinder.
Help the stems hold themselves up
Tulips respond to gravity by curving, and to light by leaning towards it. Both are easy to manage once you know they are coming.
Cold, tight and upright
Cool water firms the stems. So does a little gentle crowding: a dozen tulips in a vase just wide enough for them will hold each other up, whereas the same dozen in a broad bowl will sprawl within hours. If you want a loose, garden-style arrangement, accept the curve and place the flowers so the arch becomes part of the design.
For a really upright look, a coil of chicken wire pushed into the vase works better than it sounds. The stems thread through the mesh and stay where you put them. Rotate the vase a quarter turn each morning to stop the whole arrangement marching towards the window.
Wiring tulips without leaving a mark
Tulips are hollow-stemmed, which makes them surprisingly easy to wire once you get the feel for it. Use fine silver wire, roughly 24 to 26 gauge for a standard tulip, and work on one stem at a time.
- Cut the stem to its final length first. You cannot adjust a wired stem later without starting again.
- Hold the stem just below the head with one hand and gently feed the wire into the cut end with the other.
- Push it up until the tip sits just below the flower head. You will feel it stop. Do not force it through.
- Wrap the stem with florist tape from below the head down to the cut end, stretching the tape as you go so it grips.
If the wire meets resistance, withdraw it and re-insert at a slightly different angle. Wiring like this is the standard approach for buttonholes, corsages and hand-tied bouquets where every head needs to sit exactly where you placed it.
You will also hear about pricking the stem just below the head with a pin to stop tulips drooping. It is an old florist's trick and plenty of people swear by it, but it is not guaranteed. Try it on a spare stem before you risk a finished arrangement.
Styling: fewer leaves, more confidence
Tulips do not need much help. The common mistake is to bury them in foliage, which hides the clean line of the stem and makes the whole thing look busy.
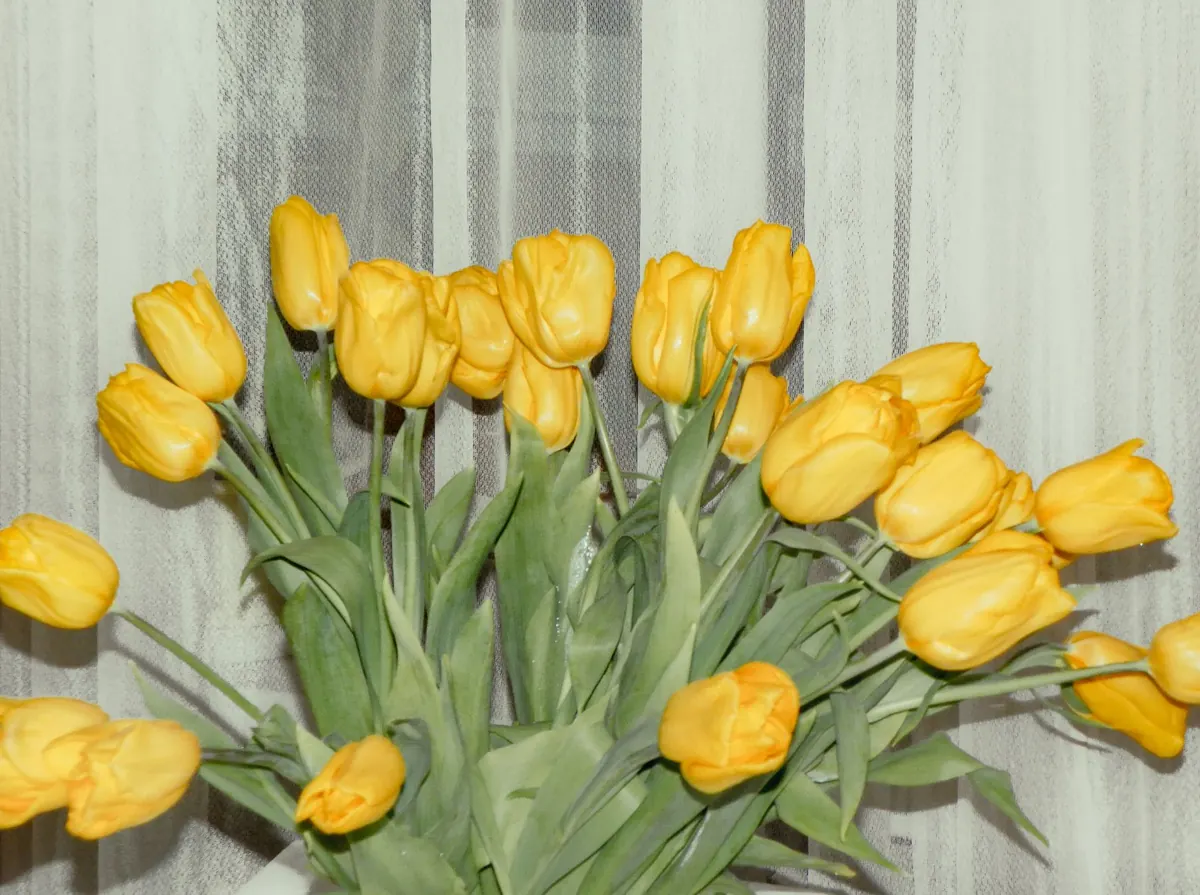
Mass one colour together rather than dotting tulips about the vase. A dense block of twenty white tulips, all cut to the same height, looks deliberate and expensive; the same twenty scattered among other flowers looks like a supermarket bunch. Vary the heights across two or three tiers instead of one flat top, and let the stems be visible through clear glass, because the green is part of the pleasure.
For a hand-tied bouquet, build a spiral: add each stem at the same angle, turning the bunch slightly as you go, and bind it at the point where your hand naturally holds it. Trim the ends level once the bouquet is bound, not before.
Mixing tulips with other flowers
Keep daffodils out of the same vase. Their stems release a sap that shortens the life of other flowers, and tulips suffer more than most. If you want daffodils in the mix, condition them separately in their own water for a day first.
Good companions are ranunculus, muscari, blossom branches, waxflower and a little eucalyptus for scent and movement. Keep to two or three colours at most and let the tulips lead. Tulips also prefer plain water to florist's foam; if you do use foam, top it up daily, because these stems drink more than most.
The daily five minutes that keeps it looking sharp
Top up the water every morning and change it completely every second day. Recut the stems by a centimetre each time you change the water, and lift out any flower that has gone over before it sheds petals onto the rest. Keep the vase out of direct sun and away from radiators. Done consistently, this is what separates an arrangement that lasts four days from one that lasts a week.
Start with one bunch
Buy ten tulips in a single colour. Condition them overnight in cool water, in the dark, with the lower leaves stripped. Next morning, choose the narrowest clean vase that will hold them, fill it to a third with cool water, and cut the stems so the heads sit just above the rim. Put them somewhere you will see them often, and turn the vase each day. That is the whole method, and it is the same method behind the arrangements you admire in a florist's window.
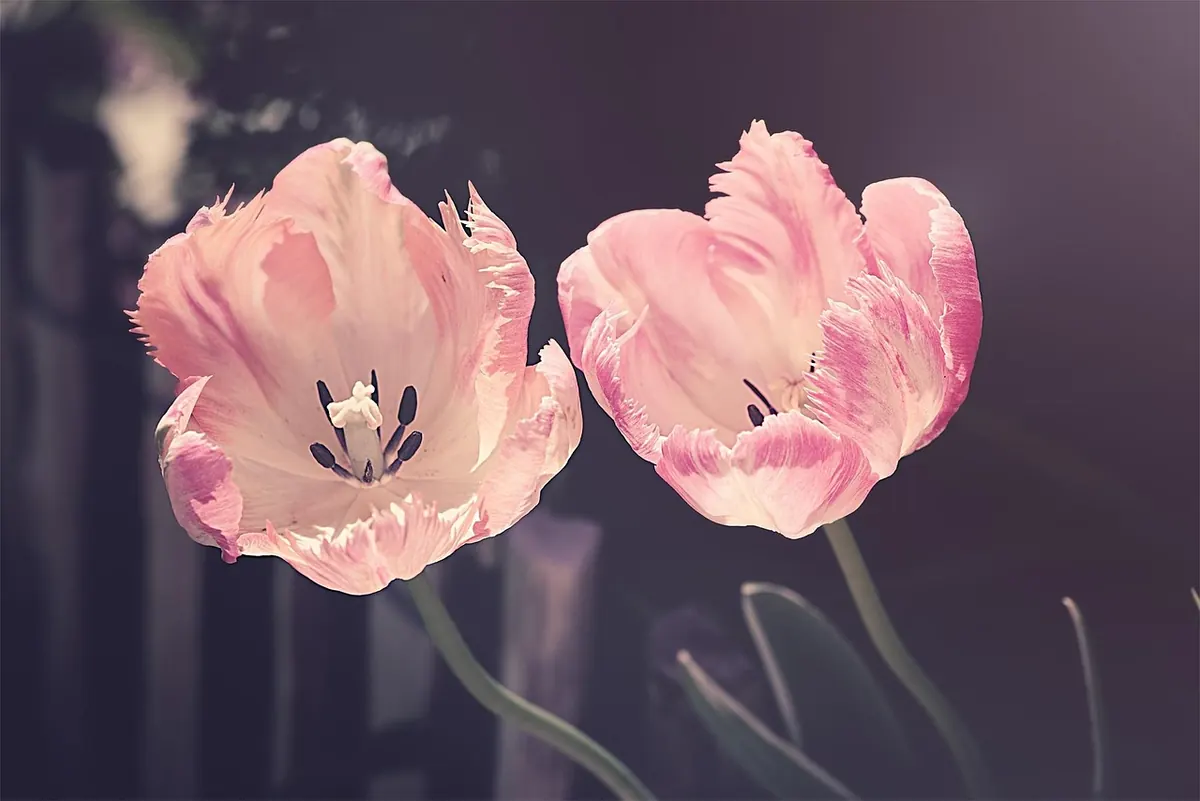
Photo: Marisa04 / Pixabay