Autumn Planting for Spring Blooms: Your September Tulip Checklist
September arrives and the shelves in garden centres change overnight. Out go the bedding plants, in come the bulbs, and with them the urge to get planting straight away. Resist it, at least where tulips are concerned. Most UK gardens do better with tulips planted from late October into November, in soil that has properly cooled. September is your preparation month: order the bulbs, sort the drainage, tidy the beds. Do that now and spring does the rest.
Why tulips prefer a late start
Tulips are not daffodils. They come from the mountains of Central Asia, where summers bake and winters bite, and they have carried those habits with them. A tulip bulb sitting in warm, wet September soil is a bulb inviting trouble: fungal problems, soft rot and the speckled grey blight known as tulip fire.
The old advice to plant on the first frosty day is too rigid, but November is a sensible target for most of the country. Gardeners in Scotland and the north can plant from late October quite happily. Species tulips are the exception — those can go in during September and October without fuss.
Buying early matters even if planting is weeks away. Keep bulbs in a paper bag or a breathable tray in a cool, dark, dry place. Never a sealed plastic bag, which traps moisture and starts rot. Somewhere away from the fruit bowl, too, since ripening fruit releases ethylene gas that can spoil bulbs.
Choosing bulbs worth planting
Tulip catalogues can overwhelm. Decide first what job the tulips are doing — cutting, containers, or a long-lived patch in the border — then buy accordingly.
- Species tulips (Tulipa turkestanica, T. humilis, T. clusiana): small, early and willing to return year after year. Ideal for gravel gardens, rockeries and the front of a sunny border.
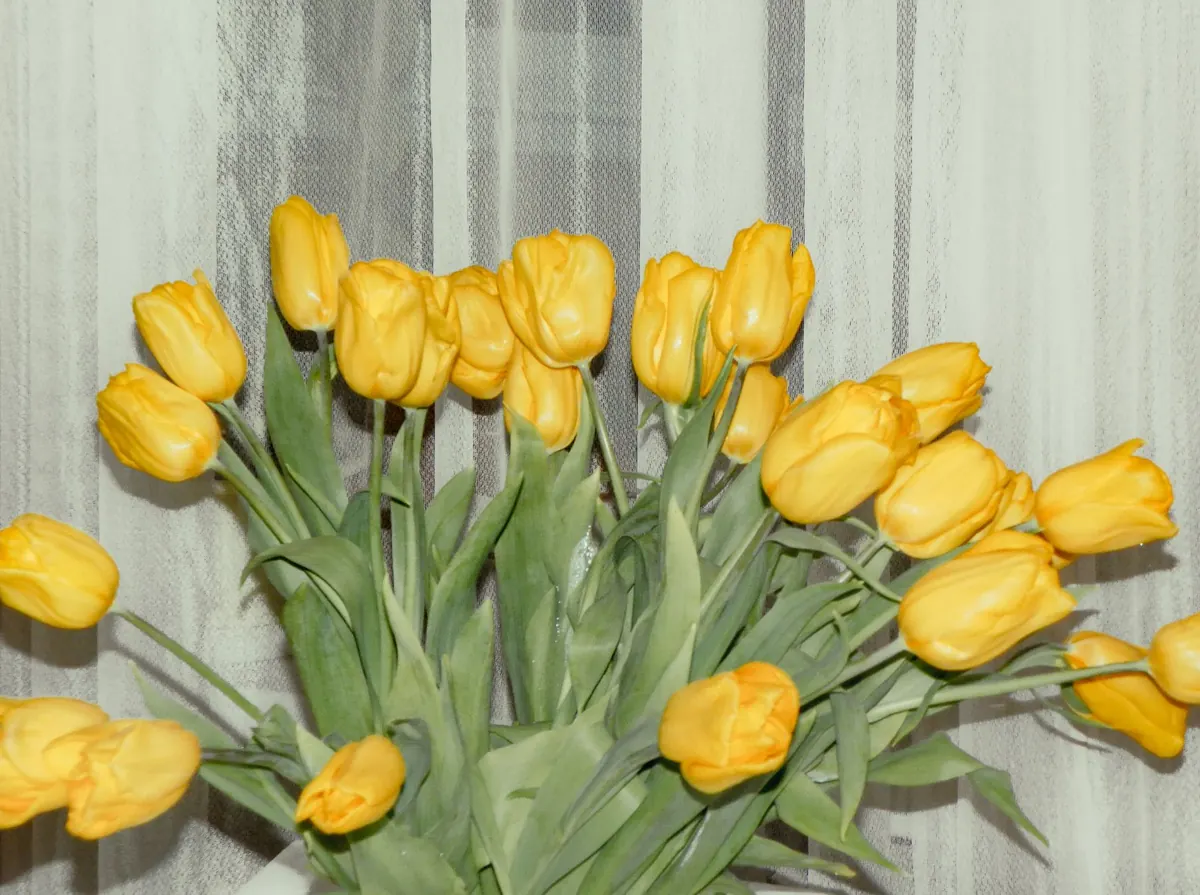
- Darwin hybrids: tall, big-flowered and reliable, with stems that stand up to wind. The classic choice for cutting and for a bold spring display.
- Triumph tulips: mid-season, neat and sturdy. Excellent in pots and mixed with wallflowers or forget-me-nots.
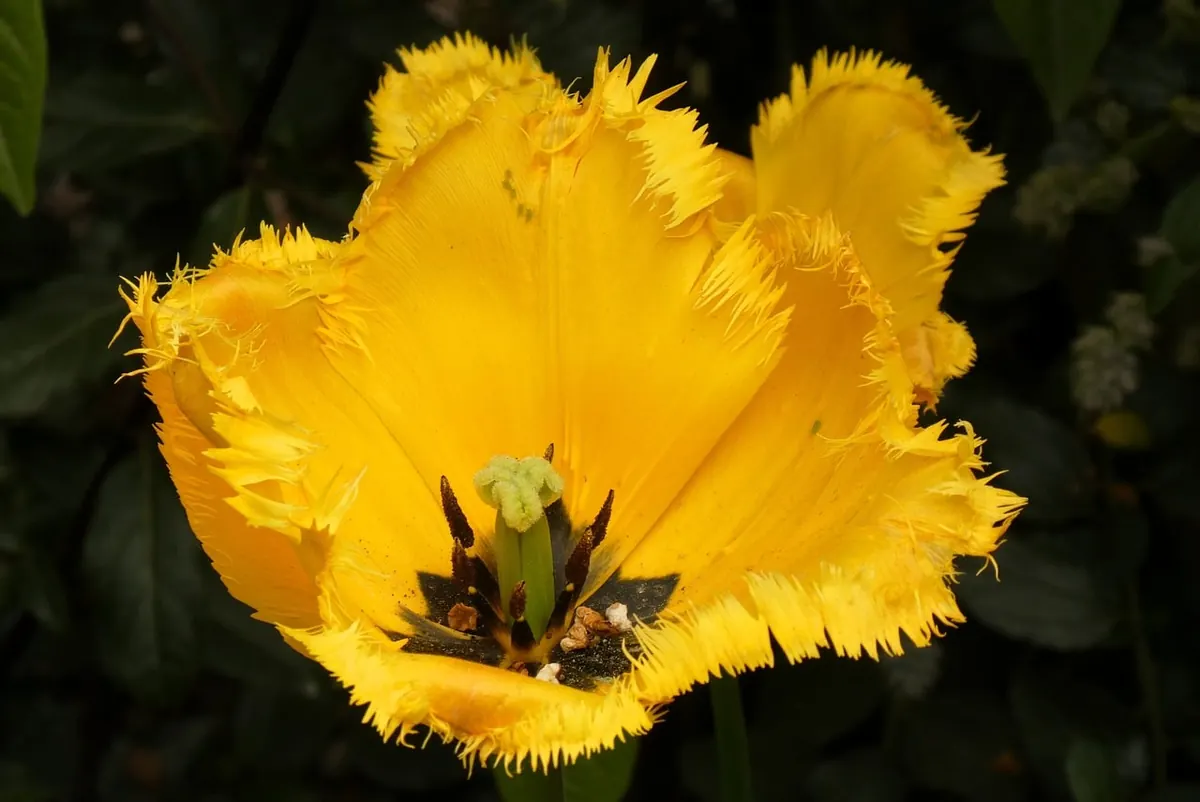
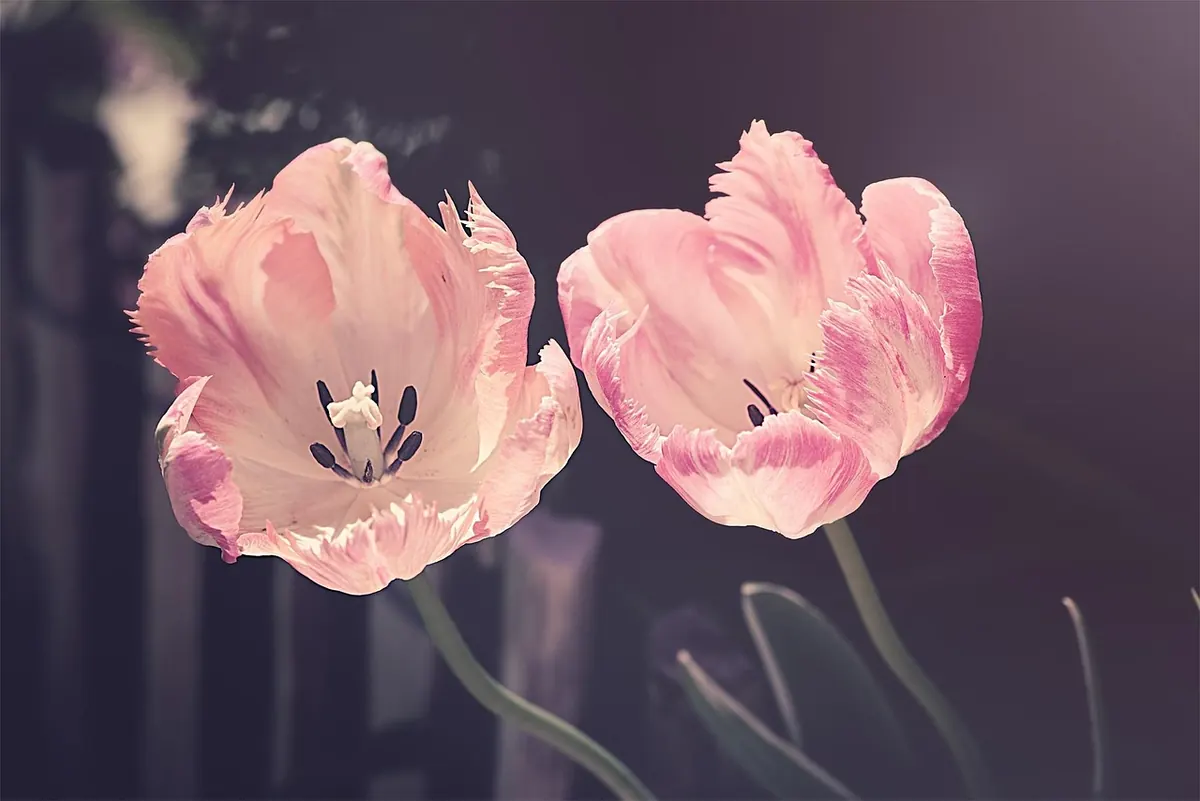
- Parrot, fringed and lily-flowered types: dramatic and lovely, but thinner-stemmed and more prone to flopping in exposed spots. Grow them where you can see them up close.
Whatever you choose, judge the bulb in your hand. It should feel heavy for its size, be firm all over, and have its papery brown tunic mostly intact. Reject anything soft, mouldy or already pushing out a green shoot. Bigger bulbs mean bigger flowers, so buy the larger grades if the budget stretches, and choose a supplier who dispatches bulbs at the right time of year rather than shipping them in August heat.
Sort the soil before the bulbs go in
Drainage is the single thing that decides whether tulips thrive or sulk. They will tolerate most soils as long as water moves through them. On heavy clay, fork in coarse horticultural grit and plenty of well-rotted compost, or plant into a raised bed. If your border floods in winter, grow tulips in pots instead.
Skip fresh manure. Bulbs sitting against rich, unrotted organic matter tend to rot rather than grow. A modest amount of well-rotted compost worked into the lower layer is plenty, and a light sprinkle of general bulb food at planting is optional rather than essential.
If a spot has grown tulips for several years, consider moving them somewhere new or growing them in containers. Fungal spores can build up in the soil, and a change of ground is cheap insurance. Clear weeds now while the soil is soft and the job is easy — you will thank yourself in March.
Planting depth, spacing and pots
Aim for a hole about three times the height of the bulb. For a large tulip bulb that means roughly 15cm deep; add a couple of centimetres more on light sandy soil. Small species bulbs are happy at 8–10cm.
- Loosen the soil to a little deeper than you need, then set bulbs in with the pointed end up. If you cannot tell which end is which, lay the bulb on its side — the roots will find their way down.
- Space bedding tulips 10–15cm apart for a full display. In pots, roughly a bulb's width apart is fine.
- Firm the soil gently and water only if the ground is dry. Then leave the bulbs alone until spring.
Containers are where September effort pays off most. Use a pot at least 30cm deep with plenty of drainage holes, and mix a soil-based compost with grit at roughly two parts compost to one part grit. You can layer bulbs for a longer show: tulips deepest, narcissi in the middle, crocus or grape hyacinths near the surface. That single pot will give you colour from February into May.
Protecting what you have planted
Squirrels and mice dig up freshly planted bulbs with impressive accuracy. Wire netting pegged over the bed, or a mulch of gravel or sharp grit across the surface of a pot, discourages most of them. Planting deep helps too, since a buried bulb is more effort than a shallow one.
Label everything. Not just the variety, but the colour and the date, because in April you will have forgotten which corner held the dark purples. A pencil or permanent marker on a sturdy label lasts far longer than a ballpoint scrawl.
Slugs and snails matter more in spring, when the first fat shoots appear, so make a note to check pots and borders as growth breaks the surface. A little vigilance then is worth more than any treatment now.
Your September tulip checklist
If you do nothing else this month, do these things:
- Count the space you have and work out how many bulbs you need. As a rough guide, 20–30 tulips fill a square metre of border, and a 30cm pot takes nine to twelve.
- Order named varieties now. Popular ones sell out long before planting weather arrives.
- Improve drainage in one bed or buy the grit and compost you will need.
- Gather pots, labels and netting before the rush.
- Store bulbs cool, dark and dry, and check them every couple of weeks for mould.
- Mark a weekend in late October or November for planting, and stick to it.
- Write down what goes where, so next year you can repeat the successes and skip the disappointments.
September is a quiet month in the flower garden, all preparation and no visible reward. That is exactly why it matters. Get the ordering, the drainage and the labels sorted now, plant in the cool weeks ahead, and the first solid colour of the year will be yours before you have properly put the secateurs away.
Photo: Nennieinszweidrei / Pixabay