7 Common Tulip Growing Mistakes (And How to Avoid Them)

7 Common Tulip Growing Mistakes (And How to Avoid Them)
Tulips have a reputation for being fussy, and it is not entirely deserved. Most disappointments — floppy stems, blind bulbs, a border that peaks for a fortnight and then sulks — come down to a handful of repeating habits rather than bad luck. All of them are easy to fix, and a few small changes this autumn will pay you back with a better display next spring.
Plant them like garlic, water them like cacti, and leave them alone like a sleeping cat.
1. Overwatering, and Soil That Never Drains
Tulip bulbs are not roots in the ordinary sense. They are swollen storage organs packed with starch, and starch plus standing water equals rot. The most common reason autumn-planted bulbs never appear in spring is not frost but a winter spent in soggy ground: the bulbs go soft, the tunics turn grey and papery, and when you dig them up in March they crumble between your fingers.
The warning signs are easy to read once you know them. Leaves that yellow and collapse almost as soon as they emerge, a sour or mouldy smell when you investigate, and bulbs sitting in a hollow of compacted clay with nowhere for water to go. If your soil drains slowly, or you can see standing water after heavy rain, treat drainage as the first job of the season rather than an afterthought.
What actually works
- Plant into free-draining soil, working a handful of horticultural grit into the planting hole and the soil beneath it.
- On heavy clay, plant on a slight ridge or in a raised bed so surplus water runs away instead of pooling around the base of the bulb.
- In containers, use a loam-based compost mixed with grit — roughly three parts compost to one part grit — and check that the drainage holes are clear.
- Stand pots on feet or bricks. A pot sitting flat on a paved patio, in a saucer of winter rain, is the classic way to lose a whole collection.
- Water only while bulbs are actively growing in spring. From autumn through winter, natural rainfall is almost always enough.
2. Planting Too Late — and Too Shallow
Timing and depth are the two details gardeners most often fudge, and both show up vividly in spring. Tulips need to make roots while the soil is still warm, which in most temperate gardens means planting from late September through October. Planting in late November or December leaves no time for roots to establish, so the bulb draws on its own reserves to produce a stem — and you get short, small flowers, or none at all.
Depth matters just as much. The old rule is three times the bulb's own height, measured from the base: roughly 15cm (6in) for large hybrids and 10cm for smaller species tulips. Shallow planting causes frost heave, stems that kink at soil level, and a free buffet for squirrels and mice. Deeper planting gives stability, better drought protection, and cooler bulbs during the summer dormancy.
Planting a bulb properly
- Loosen the soil to twice the depth you intend to plant.
- Set each bulb pointed end up, flat base down, spaced about two bulb-widths apart.
- Backfill, firm gently with your hand, and water once to settle the soil.
- Label the spot — dormant beds are remarkably easy to forget, and a hoe is unforgiving.
3. Ignoring the Cold
Tulips are not tropical plants. They need a genuine cold spell: roughly twelve to fourteen weeks at temperatures below 10°C to trigger proper flower development inside the bulb. Skip that, and you get the classic "blind" tulip — healthy leaves, no flower at all.
It happens more often than people think. Pots kept in a warm greenhouse or conservatory. Bulbs bought "ready to flower" for indoor displays, then kept in a heated room with poor light. A mild winter combined with bulbs planted against a warm, sheltered south-facing wall that never quite cools down.
If you garden in a mild climate, or want to force tulips indoors, buy pre-chilled bulbs or chill them yourself in a paper bag in the salad drawer of the fridge for six to eight weeks before planting. Keep them away from ripening fruit while they are there; the ethylene gas it releases damages the flower bud forming inside.
4. Planting in Shade or a Heat Trap
Tulips are sun worshippers in spring, and full sun means six hours or more. In shade they stretch, lean towards the light and produce weak, leggy stems; the flowers stay small or fail to colour properly. Good light is what produces those stiff, self-supporting stems that make a tulip look like a tulip rather than a drooping afterthought.
Spring sun, though, is not the same as a baking summer. Bulbs cope well with six weeks of hot, dry conditions while dormant — but a spot that bakes and cracks, such as a shallow pan of soil over concrete at the foot of a south-facing wall, will shrink them year on year. Equally, avoid the base of greedy trees and hedges, where roots steal both water and nutrients and shade arrives exactly when the tulips need light most.
5. Feeding Them Like a Vegetable
A tulip bulb already contains everything it needs to flower once. The risk is overfeeding, particularly with nitrogen. A nitrogen-rich diet encourages soft, sappy growth that flops in wind and rain, invites disease, and leaves the bulb with a poor store of energy for the following year. Fresh manure is worse still: as it rots it can burn the bulbs and hold moisture exactly where you don't want it.
Feed for the bulb, not the leaves. Work a handful of bone meal or a low-nitrogen, high-potash fertiliser into the soil at planting, then give a liquid tomato-type feed when the leaves first push through and again immediately after flowering. Potassium and phosphorus build the bulb; calcium contributes to sturdy stems. Stop feeding once the foliage begins to yellow — at that point the plant is shutting down, not growing.
6. Leaving the Seed Pods On
After flowering, a tulip does something entirely instinctive: it sets seed. Pods forming at the top of the stem divert energy away from the bulb, which is busy rebuilding itself for next spring. The difference is not subtle — a deadheaded bulb fattens up noticeably, and the following year's flowers are bigger and better coloured.
Cut off the spent flower with its stem, but leave every leaf. Foliage is the solar panel that feeds the bulb, so let it stand for at least six weeks, until it has yellowed and collapsed on its own. Resist the tidy gardener's temptation to knot, braid or cut back leaves early. The one exception is species tulips grown in a meadow or gravel garden — leave those to self-sow, because seed is how they spread and multiply.
7. Treating Tulips as Permanent Perennials
This is the mistake behind the familiar complaint that "tulips don't come back". Most garden hybrids — Darwin hybrids, Triumphs, the big colourful border types — have been bred for one spectacular season. They will return for a second or third year, but on shorter stems with fewer, smaller flowers. Commercial growers lift their bulbs every summer for a reason.
You have three sensible options:
- Treat them as annuals. Lift and compost after the foliage dies down, then plant fresh bulbs in autumn. Simplest, and gives the best display.
- Lift and store. Once foliage yellows, lift the bulbs, dry them in an airy shed, clean off loose soil, store them in a mesh tray in a cool, dark place and replant in autumn.
- Choose naturalisers. Species and botanical tulips — Tulipa tarda, T. sprengeri, T. humilis and 'Little Beauty' — will come back and multiply in well-drained soil.
And never replant tulips in the same spot year after year. Soil-borne problems such as tulip fire (Botrytis) and general "soil sickness" build up quickly. Rotate the planting area, refresh the compost in containers, and remove any mottled, twisted or grey-furred leaves the moment you see them.
Choosing Bulbs Worth Planting
Half of next spring's success is decided at the till in September. Look for bulbs that feel firm and heavy for their size, with intact papery tunics and no soft patches, blue-grey mould or sprouting tips. Size is a fair guide to performance: an 11–12cm circumference is a good garden size, while 12cm and above is exhibition territory. Buy early, when stock is fresh, and avoid loose bulbs from warm, brightly lit shop displays where they may have sat for weeks. Plant them within a few days of getting them home.
A Quick Season-by-Season Checklist
- Early to mid autumn: improve drainage, plant bulbs at the correct depth, water once, label the bed.
- Winter: do nothing, apart from keeping pots out of standing water. No feeding, no watering.
- Spring: water only in dry spells, feed with high-potash liquid feed as growth begins.
- After flowering: deadhead immediately, keep watering and feeding for three weeks.
- Six weeks on: let foliage die back naturally, then lift, store or compost, and choose next season's varieties.
None of this is complicated, and none of it requires special equipment. Get the drainage right, plant deep and on time, give them cold and sun, deadhead promptly, and decide in advance whether you are growing them as a crop or as a permanent colony. Do that, and the "fussy" label falls away — leaving you with a border that does exactly what you planted it to do.
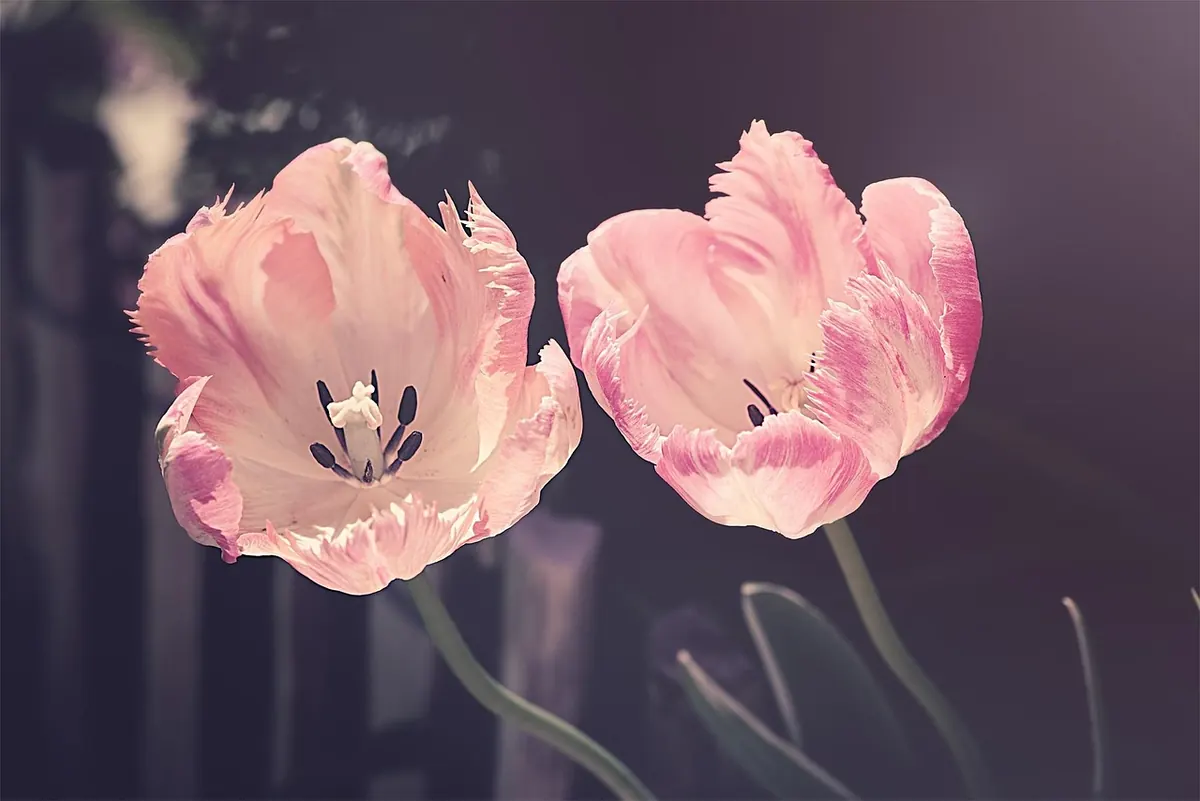
Photo: OnzeCreativitijd / Pixabay